A Landlord’s Guide to the Check-In/Check-Out Process

Whether you’re a new landlord renting out a property for the first time, or a seasoned investor welcoming your thousandth tenant, it is always a good idea to refresh your memory of the check-in/check-out process.
This guide explains all of your responsibilities during the start and end of a tenancy:
Before check-in
Once a tenant has shown interest in your property, it is normal to request some fees in order to complete some necessary administration work. If you use a letting agent, they will normally arrange this for you, but otherwise, you should begin compiling some important documents. These generally include: a tenant application form, referencing, credit checks, Right to Rent checks and the creation of a unique tenancy agreement (usually an Assured Shorthold Tenancy).
You may ask your tenant to pay a deposit, which you must protect in a Government-approved protection scheme. You then have 30 days to provide your tenant with the prescribed information. Our guide has more information on what you must do regarding the deposit, and the implications of not doing so: https://www.justlandlords.co.uk/news/landlords-guide-tenancy-deposits-and-rent-arrears/
In addition, you should compile a detailed inventory before the check-in process. This guide explains how to create a thorough report: https://www.justlandlords.co.uk/news/landlords-guide-inventories-avoiding-disputes/
During check-in

A Landlord’s Guide to the Check-In/Check-Out Process
When all referencing checks have been completed and you have agreed a date for the tenant to move into the property, it is a good idea to meet with the tenant to go through the tenancy agreement and inventory, before handing over the keys.
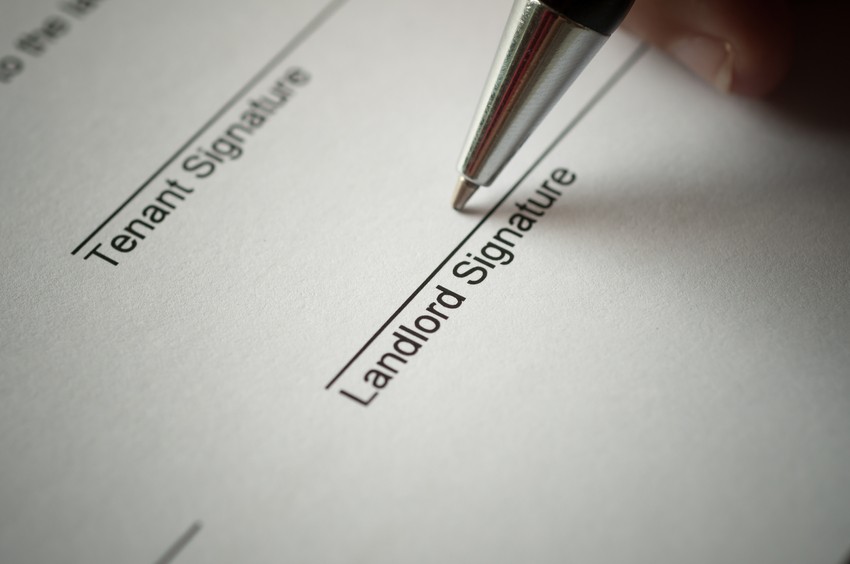
You should visit the property with the tenant to go through the inventory, so that any problems can be addressed and transparency is ensured. The document must then be agreed and signed by both parties.
You should always go through the tenancy agreement with the tenant, so that they know what their responsibilities are, your duties as their landlord and the details of the arrangement.
Then, you can hand over the keys to your property and the tenant moves in!
Throughout the tenancy
Depending on the length of the tenancy, you may decide to conduct periodic inspections throughout your tenant’s time in the property. These visits allow your tenant to raise any problems they have and enable you to check that the tenant is sticking to the tenancy agreement. Periodic inspections are usually scheduled around every three to four months.
REMEMBER: You must give your tenant at least 24 hours’ notice before visiting the property, and you must have their consent.
During check-out
Once the tenant has informed you that they are going to move out of the property, it is wise to contact them with details of their responsibilities at check-out, including the expected condition of the property.
You must check the condition and contents of the property at check-out against the original inventory, to highlight any damage. However, remember that fair wear and tear cannot be deducted as damage from the tenant’s deposit. You should invite your tenant to be present at the check-out visit, so that you can agree on the condition of the property against the initial inventory.
Once you have gone through the inventory, you can take the keys from the tenant and check-out is complete.
After check-out
If you wish to make deductions from the tenant’s deposit based on evidence you’ve found at the property, you should always try to arrive at a mutual agreement. If the tenant disputes the deductions, the case can go to adjudication. However, you will be required to provide evidence to the tenancy deposit scheme that you use, so always remember to take photographs along with a thorough inventory.
Once you have agreed on how much of the deposit should be returned to the tenant, you have ten days to send the money back.
So long as you don’t suffer void periods, then you’ll be ready to start the process again!
Disclaimer: This article is for information only and is not official guidance, FCA approved, or legally precise. Just Landlords has used all reasonable care in compiling the information but make no warranty as to its accuracy. If you require information on landlord legislation or best practices please contact your legal representative. For details see our conditions.


